REVIEW · AMSTERDAM
Amsterdam: Make your cheese next to De Hallen
Book on GetYourGuide →Operated by De Kaasserie · Bookable on GetYourGuide
Make cheese, not just memories. This hands-on workshop at De Kaasserie (near De Hallen) turns a simple kitchen skill into something you can actually repeat at home, starting from two different milk coagulation methods. I especially like that you make two cheeses in one session and that the group stays small enough for real back-and-forth. One note to keep in mind: it’s not for people with lactose intolerance, since you’ll be working with milk throughout.
My favorite part is how the session is structured so you’re never just watching. You start with a short intro presentation, then you jump into the practical work using one liter of supermarket milk for each type of cheese, and you finish with a tasting of your own homemade results. The icing for me is the chance to experiment with spices and herbs, plus tasting both fresh and pressed styles at the end.
The only drawback for some people is that no coffee or alcoholic beverages are included. If you’re used to pairing drinks with food experiences, plan on tea only—or grab a drink before or after.
In This Review
- Key moments you’ll remember
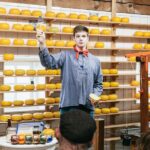
- De Kaasserie and the De Hallen area
- The 3-hour flow: presentation to your own cheese table
- The lesson that matters: acid-coagulated vs rennet-coagulated
- Making your two cheeses: from milk to curd to a take-home result
- The tasting: fresh and pressed, straight from your own effort
- What you take home (and why it’s more than souvenirs)
- Who this workshop is for (and who should skip it)
- Price and logistics: what to plan before you go
- Should you book Make Your Cheese next to De Hallen?
- FAQ
- What happens when I arrive?
- How long is the workshop?
- What will I make during the session?
- Can I add flavors like herbs or spices?
- Is tasting included?
- What do I take home?
- Is this suitable for kids or lactose intolerance?
Key moments you’ll remember
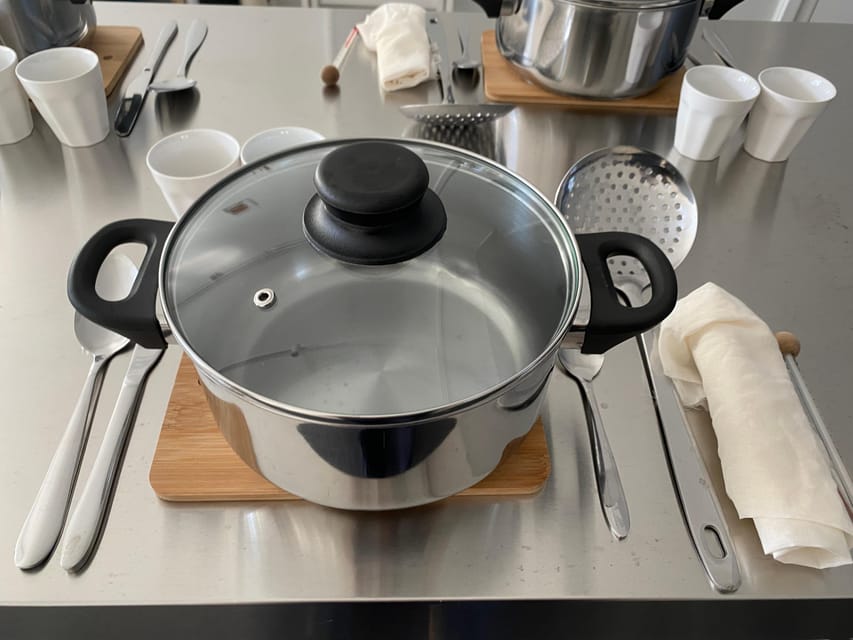
- Two milk coagulation methods: you make one acid-coagulated cheese and one rennet-coagulated cheese
- Hands-on with one liter each: two milk cartons become two cheese pieces in the same workshop
- Spice-and-herb play: you can customize your cheese flavor during the process
- Tasting your own work: you sample homemade cheese in both fresh and pressed forms
- Take-home cheesemaking tools: you leave with cheesecloth, rennet, calcium, and recipes by email
- A friendly, small-group setup: limited to 10 participants, guided in English, Spanish, French, or Dutch
De Kaasserie and the De Hallen area
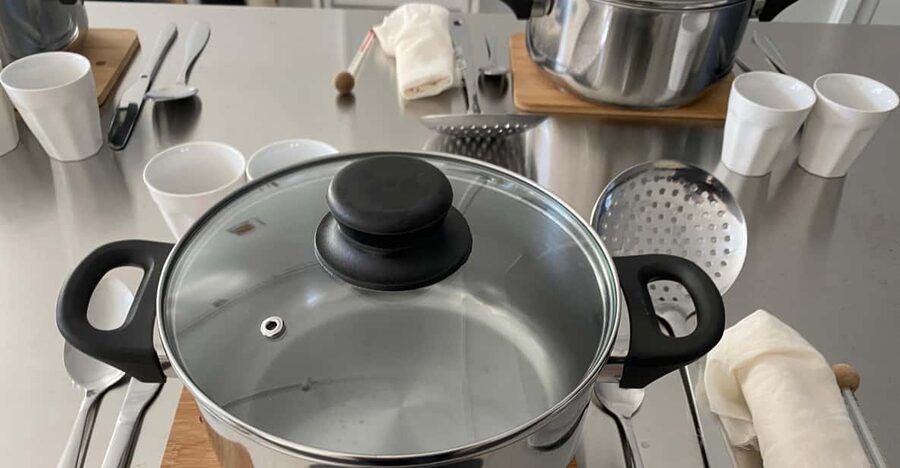
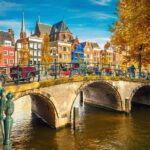
If you want a food experience in Amsterdam that doesn’t feel like a performance, this workshop hits a sweet spot. It’s held at De Kaasserie, close to the De Hallen area, so you can treat it like part of a neighborhood day rather than a full-day commitment that pulls you across town.
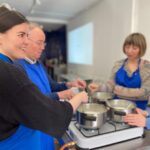
The setting is focused on doing the work. Expect a warm, practical atmosphere built for beginners and curious cooks, not a lecture hall. You’ll meet at De Kaasserie, and the exact meeting point can vary depending on the option you book—so double-check your confirmation message and arrive a bit early so you can get settled before the group starts.
One reason I like this location strategy for travelers: De Hallen is a convenient anchor. You can combine the workshop with strolling, snacks, or museum time nearby without building your whole day around the activity.
You can also read our reviews of more tours and experiences in Amsterdam.

The 3-hour flow: presentation to your own cheese table
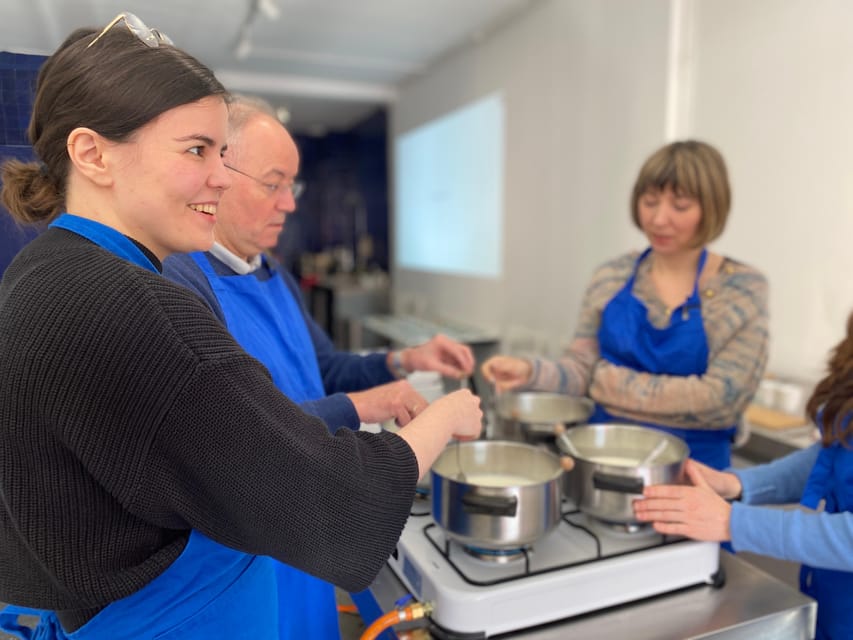
This runs about 3 hours, and the best thing about the timing is that it doesn’t drag. You don’t spend half the day waiting for cheese to happen. Instead, the format moves in clear steps:
- Welcome and intro
- Short teaching session on the core cheesemaking concepts
- Two rounds of cheesemaking using different coagulation methods
- Add-ins like spices and herbs
- Final tasting and instructions for continuing at home
During the start, you get tea with an introduction to De Kaasserie and the workshop contents. You’ll also do a quick group setup—one of the small details that matters because it makes the room feel friendly, especially with a limit of 10 participants.
In the sessions I reviewed, the guide Paula was singled out for being personable and easy to follow, including starting with a short slide presentation and having everyone introduce themselves. That’s the kind of structure that helps first-timers get comfortable fast.
The lesson that matters: acid-coagulated vs rennet-coagulated
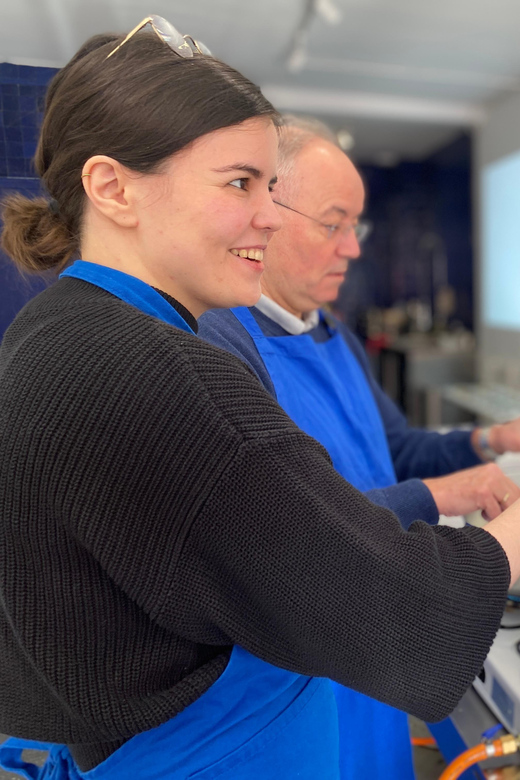
Here’s the core “why this is worth it” part. You don’t just make cheese. You learn the basic principle behind two major routes to coagulation:
- Acid-coagulated cheese (the fresh style you’ll make)
- Rennet-coagulated cheese (the method used to make aged cheese)
The workshop explains these as the two basic types of milk coagulation, then turns the idea into action. You’ll use supermarket milk—one liter for each cheese—so it feels both accessible and immediate. Two cartons become two pieces of cheese, made using those two methods.
Why this matters for you: once you understand the difference between acid coagulation and rennet coagulation, you’re not stuck doing a one-off activity. You can approach cheesemaking like a skill with options. The rennet method is especially important because aged cheese is where many people eventually want to go, and the workshop specifically sets you up for that next step.
Also, the rennet cheese you make in the workshop is fresh at that stage. The takeaway is the procedure—so you can continue into longer, more complex recipes at home later.
Making your two cheeses: from milk to curd to a take-home result
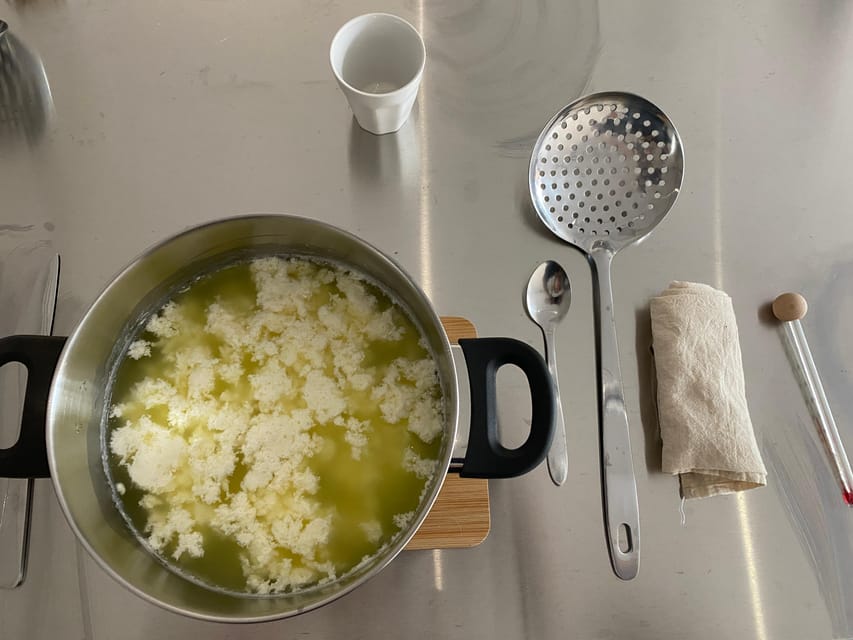
Once the teaching is done, you get to work. The workshop uses a simple quantity plan that keeps things manageable: one liter of supermarket milk for each cheese type. Then it’s hands-on from there.
You’ll experiment with adding spices and herbs to your cheese. This isn’t just a decorative choice. It changes the character of what you make, and it’s a fun way to turn “learning” into “making something you’d actually eat.”
And because you’re making two cheeses, the comparison is built in. You taste the results at the end, but you also get a feel during the process for how each method leads to a different outcome.
A practical point: the workshop is designed for small groups, so you won’t feel lost in a crowd. With only up to 10 participants, the instructor can check in and help you stay on track as you move through the steps.
The tasting: fresh and pressed, straight from your own effort
When the cheeses are ready, the workshop wraps with a tasting of homemade cheeses—including both fresh and pressed styles.
This is a smart design choice. You learn the method, but you also learn the flavor and texture difference. It gives context to what you made, rather than leaving you with two unlabeled blocks of cheese and a recipe sheet.
And it’s also satisfying. You’ll go from hands in the curd stage to actually tasting what that process created. That’s the moment that turns a class into a story you’ll tell later.
If you’re a “show me first” type, you’ll probably appreciate that the tasting happens after you’ve made everything yourself. If you’re more of a “teach me the why” type, the coagulation lesson sets you up to understand why the tasting results differ.
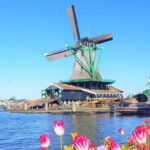
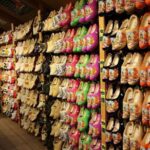
- Zaanse Schans Windmills, Clogs and Dutch Cheese Small-Group Tour from Amsterdam
★ 4.5 · 2,369 reviews


What you take home (and why it’s more than souvenirs)
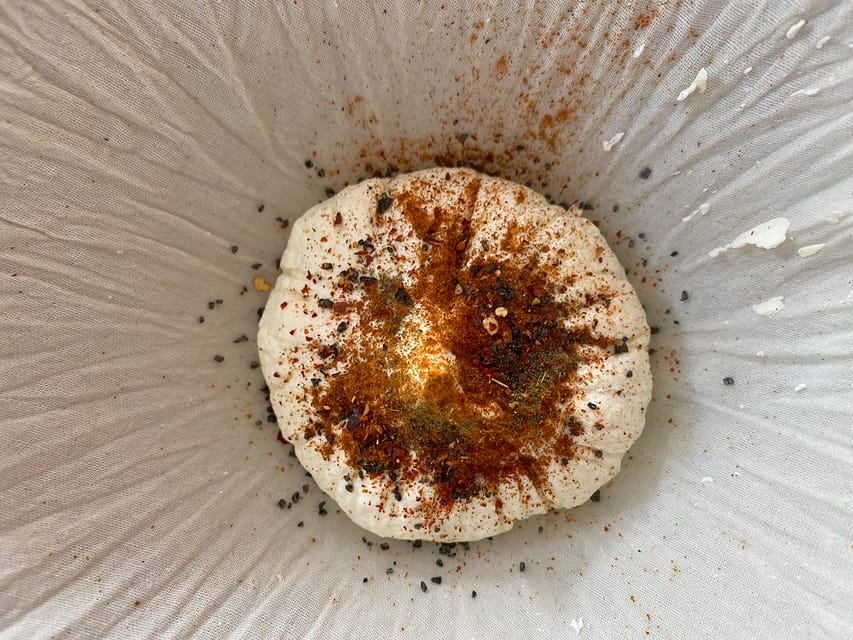
This workshop is unusually generous on take-home value. You don’t just leave with cheese; you leave with the materials and instructions to keep going.
You take home:
- Two cheeses
- Cheese cloth
- Rennet
- Calcium
- Recipes via email
They encourage you to experiment with cheesemaking at home, and that’s the main reason this feels like an actual skill workshop rather than a one-time food tour. You’re getting both the ingredients needed to continue and the recipes to follow.
Value-wise, the $135 price per person can feel high at first glance, especially in a city full of free sights. But here’s the math that matters: you’re paying for (1) instruction, (2) time with a small group, (3) the inputs to make two cheeses using two coagulation methods, and (4) take-home supplies plus email recipes.
Compared to buying cheese and a generic food experience, you’re paying for something you can repeat. Even if you only make one more cheese at home, you start turning this into a lasting activity instead of a short stop.
Who this workshop is for (and who should skip it)
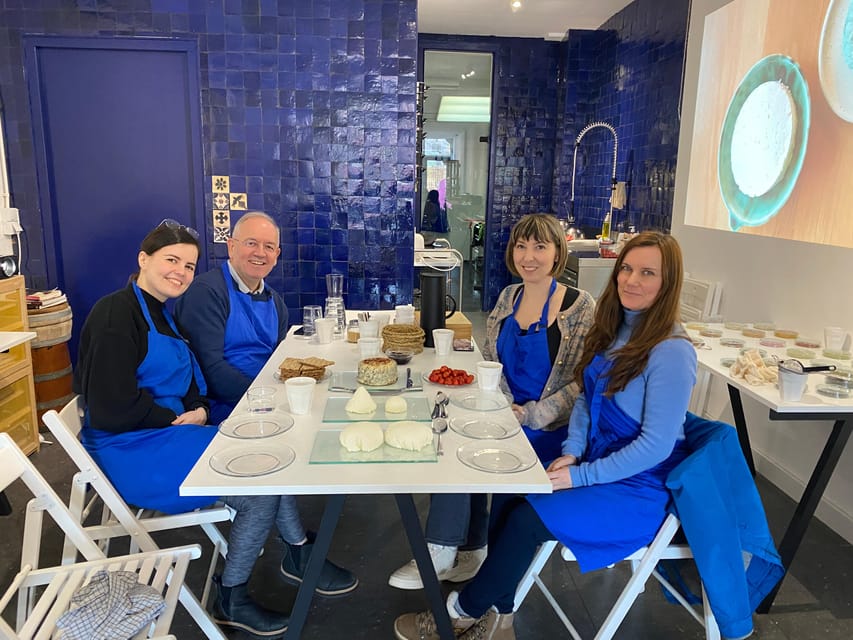
This is not a “drop in and taste” kind of activity. It’s hands-on learning. So you’ll enjoy it most if you like doing things with your hands and you get satisfaction from understanding how food is made.
It suits you if:
- you’re a beginner who wants a clear starting framework (acid vs rennet)
- you love Dutch food culture and want a practical craft angle
- you want a small-group experience (it’s limited to 10 participants)
- you’d rather bring home a skill and supplies than just photos
It’s less suitable if:
- you have lactose intolerance (the workshop uses milk and is listed as not suitable)
- you’re looking for a kid-friendly activity (it’s not suitable for children under 16)
- you want a fully mobile, walking-heavy day (this is a workshop format, not a long stroll)
Price and logistics: what to plan before you go
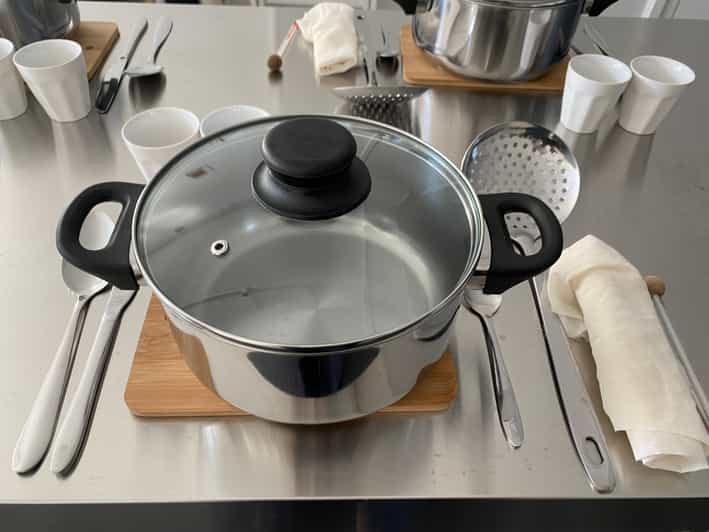
At $135 per person for a 3-hour workshop, you’re paying for a premium, hands-on food class with take-home materials. For me, the key pricing question is whether you’re likely to use what you learn. If you think you’ll actually try making cheese at home, the value feels solid. If you only want a quick bite, there are easier and cheaper food stops around Amsterdam.
Logistically, the workshop is straightforward:
- Expect a 3-hour session
- Group size is small (up to 10)
- Instruction is available in English, Spanish, French, and Dutch
- You’ll meet at De Kaasserie, but the meeting point can vary depending on the option booked
Also, remember the drink situation: tea is included, but coffee and alcohol are not. That doesn’t make it bad, it just means you shouldn’t count on a full café-like setup.
Should you book Make Your Cheese next to De Hallen?
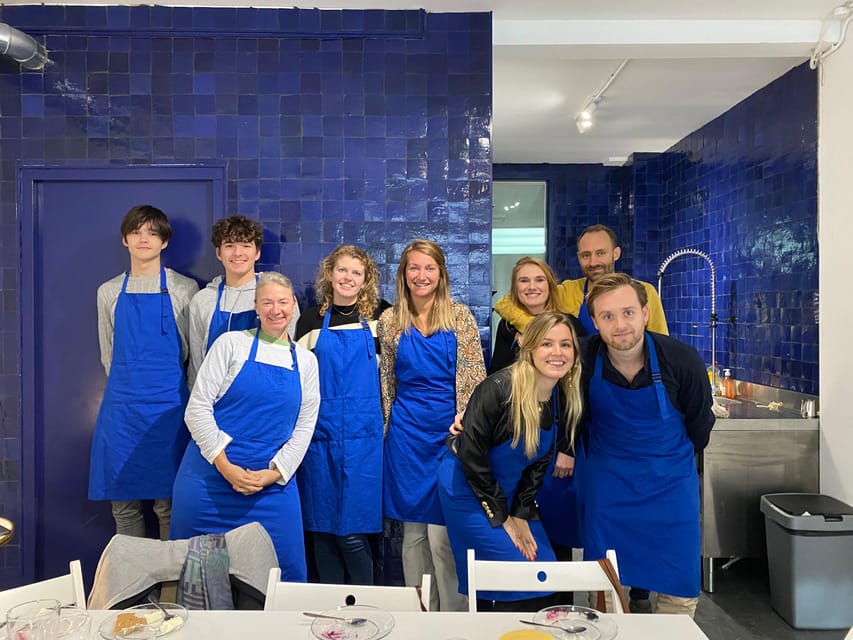
I’d book it if you want a real food craft, not just a tasting. The standout part is that you learn the difference between acid and rennet coagulation, then immediately apply it to make two cheeses and taste the results. Add in the ability to experiment with spices and herbs, plus the take-home supplies like rennet, calcium, and cheesecloth, and you get a class that keeps paying you back after the workshop ends.
Skip it if you’re lactose intolerant, if you need a kid-friendly format, or if your idea of a good time is mostly browsing and wandering rather than making. And if you’re someone who really depends on coffee or alcoholic beverages with meals, plan to get that elsewhere since only tea is included.
FAQ
What happens when I arrive?
You’ll meet at De Kaasserie. After everyone arrives, there’s a presentation introducing De Kaasserie and the workshop content, followed by the cheesemaking activities.
How long is the workshop?
The duration is 3 hours.
What will I make during the session?
You’ll make two types of cheese using two different milk coagulation methods: one acid-coagulated cheese and one rennet-coagulated cheese. You end up with two pieces of cheese.
Can I add flavors like herbs or spices?
Yes. You’ll have the chance to experiment with adding spices and herbs to your cheese.
Is tasting included?
Yes. After the cheeses are ready, there’s a tasting of homemade cheeses, including fresh and pressed styles.
What do I take home?
You take home two cheeses plus a cheese cloth, rennet, calcium, and the recipes by email.
Is this suitable for kids or lactose intolerance?
No. It’s not suitable for children under 16, and it’s not suitable for people with lactose intolerance.
You Might Also Enjoy


More Tour Reviews in Amsterdam
- Zaanse Schans Windmills, Clogs and Dutch Cheese Small-Group Tour from Amsterdam
★ 4.5 · 2,369 reviews